
How to use Litematica
Litematica shows a ghost version of a build so you can place blocks against it. It also reads the material list and layers from the same file.
The steps below use the recorded Mossglen Cabin example. Use a Litematica release that matches your game version when loading other files.
Load the .litematic
With the file in the instance’s schematics folder, open Litematica’s main menu (M by default on QWERTY), then Load Schematics. Select mossglen-cabin.litematic and load it. Enable Create a placement when offered; otherwise create a placement for the loaded schematic from the menu.
Position the hologram
Open Schematic Placements, select the placement and choose Configure. Set its origin and rotation. Our recorded test used X = 20, Y = -60, Z = 0 in the superflat world, placing the hologram beside the solid cabin. Choose a suitable ground Y in your own world.
Gather materials and select a layer
Open the placement’s material list, then use Render Layers to choose a single layer or all layers below a height. The recorded material list showed 587 items; switching between world Y = -57 and -56 changed the visible ghost layer.
Place real blocks over the guide
Hold the correct block and place it against the hologram using normal game controls. The ghost is a guide, not a real block. In our creative test, a right click placed one cobblestone at world X = 24, Y = -60, Z = 0, matching local blueprint coordinate (4, 0, 0).
Check alignment as you go
Compare the real blocks with the overlay and inspect any mismatches before moving upward. Return to all-layer rendering for a final overview. Hotkeys are configured in Litematica/MaLiLib, usually through M + C → Hotkeys; they are not vanilla Minecraft keybindings.
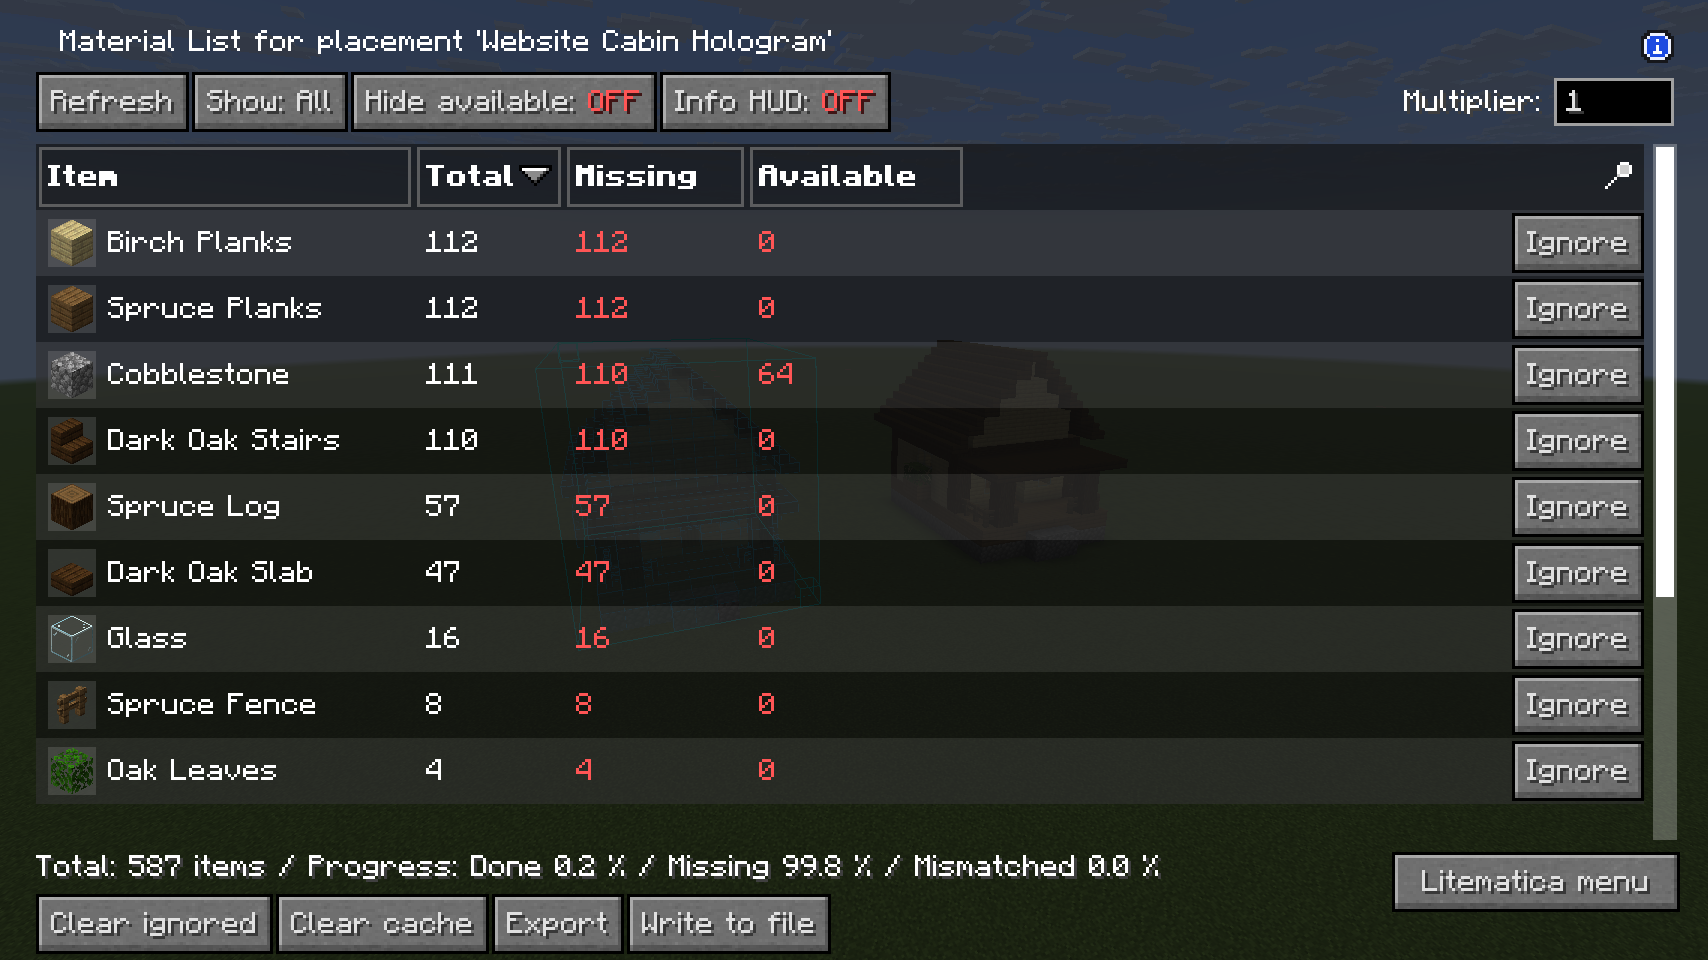
The loading/menu steps follow the maintainer’s documentation. Our recorded game test restored a normal saved placement before re-entering the world; it verified the hologram, layers, material total and one creative placement, rather than the complete mouse-driven loading flow or a full survival build.
If something does not work
Why is the hologram not showing?
Check that Litematica and MaLiLib match your Fabric version, then confirm the schematic is loaded and the placement is inside render distance.
Can Litematica build it for me?
Litematica has a placement mode, but this site does not claim automated building. Treat the hologram as a guide and place blocks yourself.